Home / Family / Individual Learning Plan
Getting Started
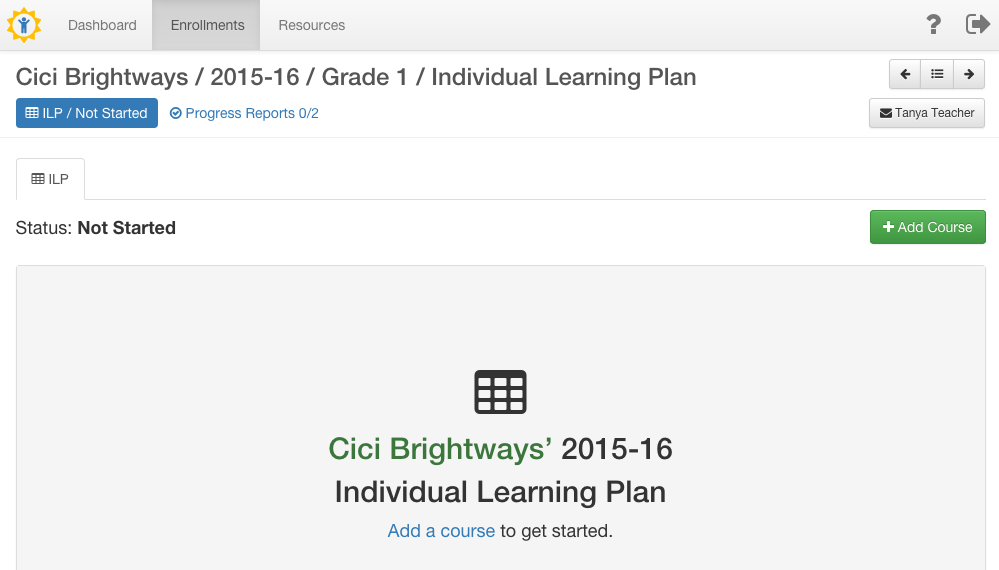
When you first begin a student’s Individual Learning Plan (ILP), you’ll see a screen like the one below. Simply click the green +Add Course button to start building the ILP.
Creating a Course
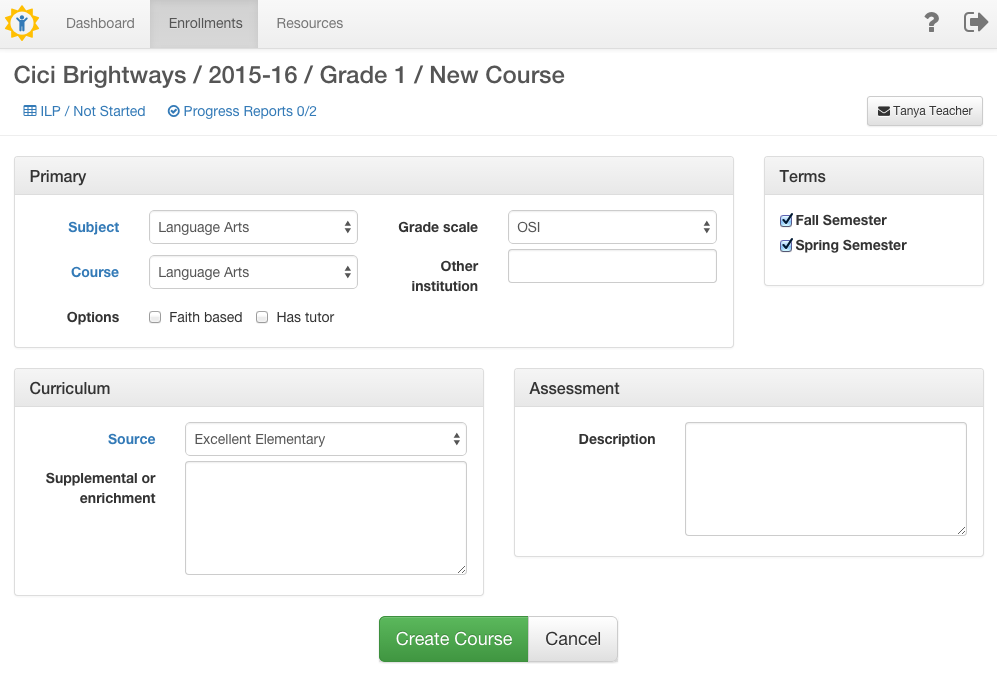
BrightWays automatically gives you program-approved options based on the student’s enrolled grade level. Items labeled in blue are required fields to include. Once you’ve input the specifics, just click the green Create Course button to save it.
Editing a Course
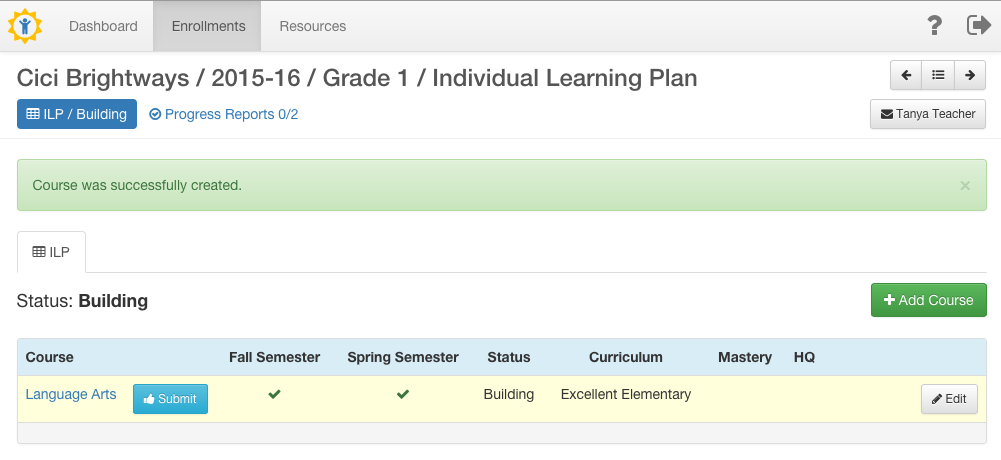
After creating a course, you may want to add to it or change something. From the ILP page that lists the existing courses, simply hover the row with the course listed you want to edit. When you do that, and Edit button will display to the far right within that same row. Click the button to return to the Course form. Make your changes then click the green button at the bottom to save.
Deleting a Course
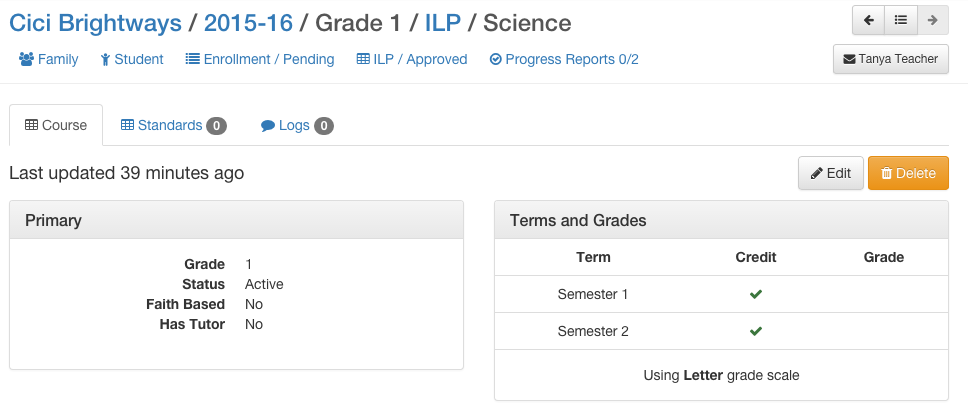
After creating a course, you may discover you want to remove it. From the ILP page that lists the existing courses, simply click the NAME of the course you want to remove from the ILP. On that next screen (which shows all of the information related to that course), you’ll see an orange button labeled Delete. Click it to delete the course from the ILP.
Submitting the ILP for Teacher Approval
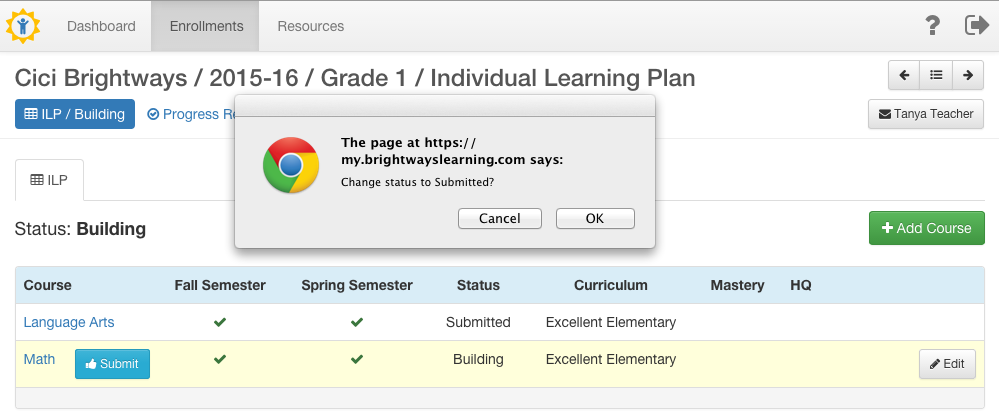
When you feel a course’s content is ready to show your advisory teacher, click the blue Submit button next to the course’s name on the ILP page. A popup box will display to confirm that you want to change the course’s status from “Building” to “Submitted”. Click OK and you’ll see the course status change on the page.
NOTE: This flags the course for your advisory teacher to look at it, and the student’s ILP, for approval. However, you can Edit a course until the advisory teacher changes its status to “Approved”.
When all courses on the ILP have been approved, the ILP’s status will show as “Approved” on the ILP and also on your Family Dashboard.