Home / Family / Re-enrolling and Adding New Students
This page explains the process of how a family who already has students enrolled in the program can re-enroll any of the family’s students who have ever been enrolled in the program AND also add any new students in the family.
NOTE: Please follow the methods described on this page rather than using the New Family Enrollment Form (outside of login system), as that will create a duplicate record.
Overview of the Process
- Login to your Family Dashboard.
- Click the Re-enroll button for your Family.
- Click the Re-enroll button for each student previously enrolled in the program.
- Any new students never enrolled? Then click the +Enroll new student button.
- Review and electronically sign your completed Enrollment Application.
If later you want to add another new or other previously enrolled student, you must repeat the process above. This will create a second, separate signed Enrollment Application in your family record/file.
Steps 1-3: Re-enroll Eligible Students
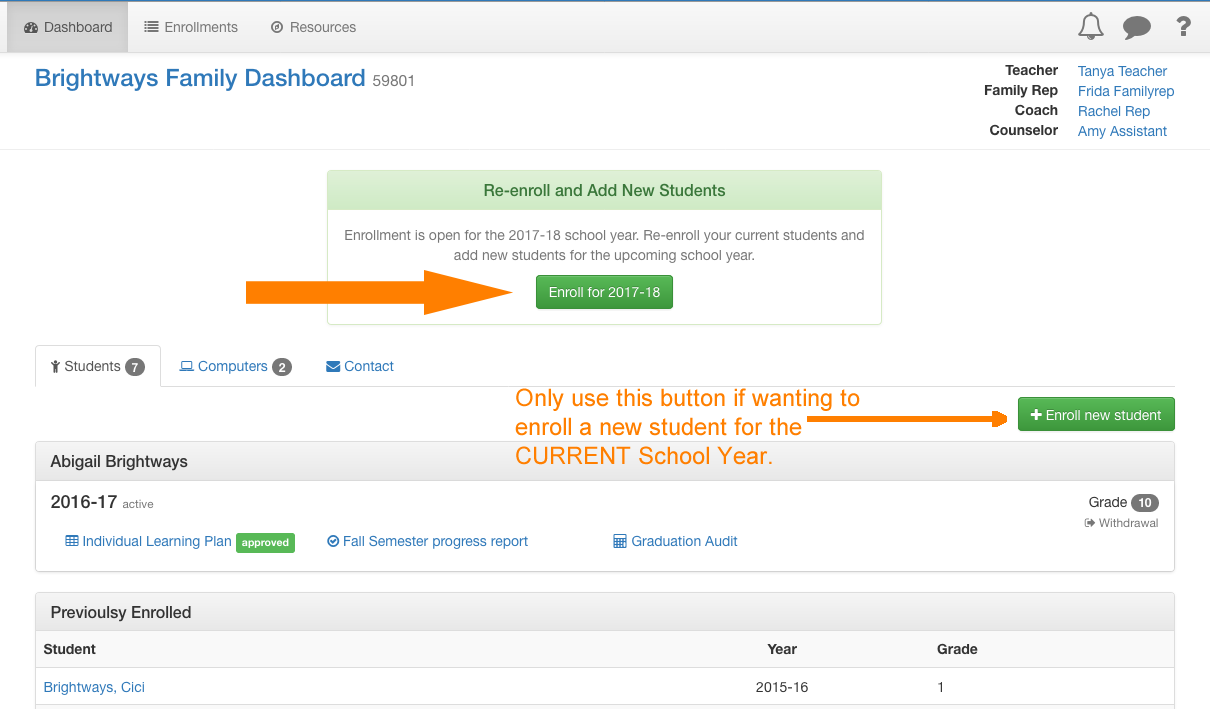
When your program opens up their enrollment period, login and you’ll see on your Family Dashboard a notice near the top. Click the green button to ** Enroll for 20XX-XX**.
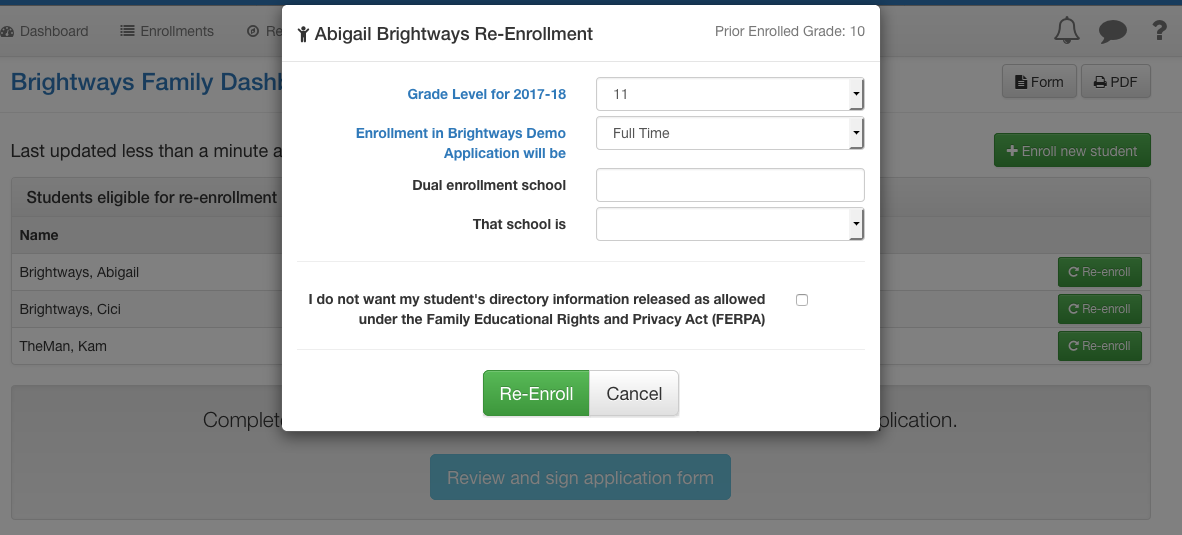
Next you will see the list of Students eligible for re-enrollment. Those are students who at one time your family had enrolled in the program. Click the green Re-enroll button for a student you want to re-enroll.

On the Re-Enrollment form, BrightWays automatically selects the next chronological grade level for the next school. However, this can be modified using the pull-down, as needed. Complete all of the fields on this form, then click the green Re-Enroll button at the bottom of the popup window to submit it.
Step 4: Add New Students
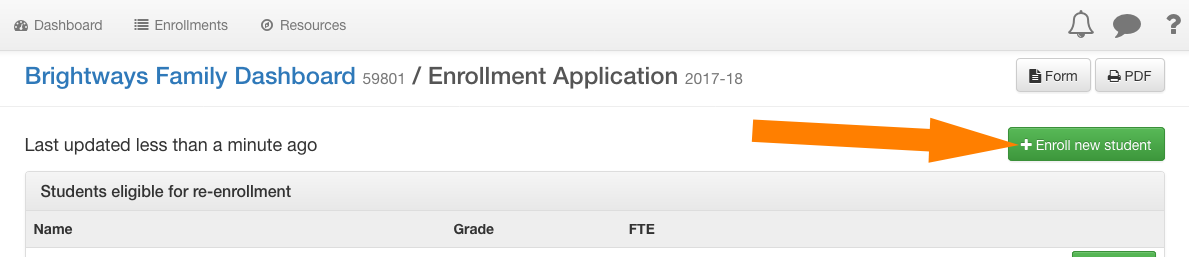
If you need to add NEW students, meaning they have NEVER been enrolled in this program since they have been using BrightWays, click the green +Enroll New Student button.
Proceed to complete the details. This form is more lengthy than when re-enrolling existing students, as you will need to share some basic demographics and educational information with the program administration. (They already have similar information for existing students.)
Complete the form fields, then click the green Enroll Student button at the bottom of the page.

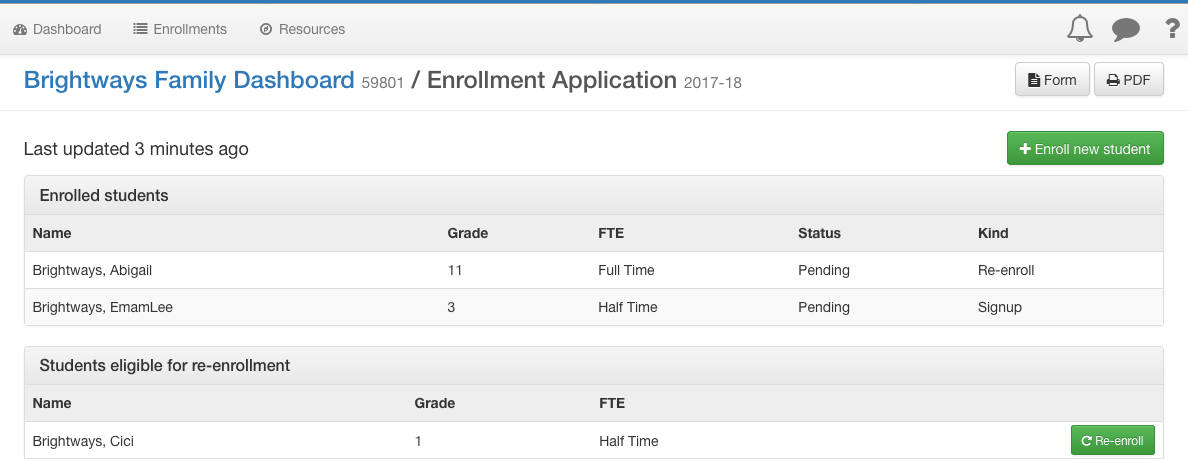
All of the students you want to enroll will be listed near the top of the page as Enrolled Students.
Step 5: Review & Sign Your Enrollment Application
Once you have enrolled or re-enrolled all of the students you want to for the upcoming school year, click the blue Review and sign application form button.

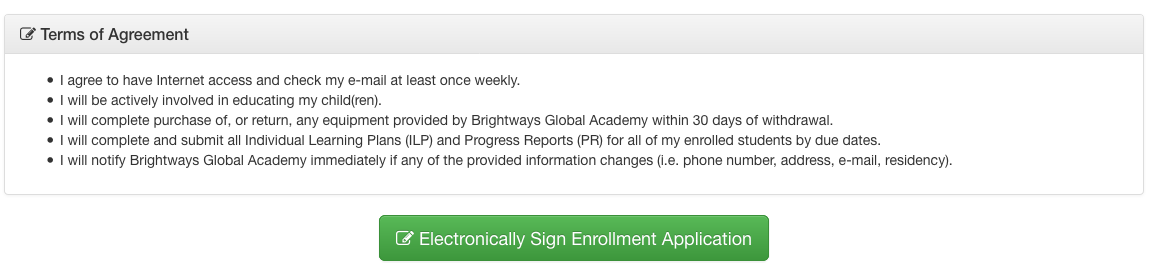
Review your family’s information, including the enrollment information for each of your students, and the program’s Terms of Agreement. When ready click the green Electronically Sign Enrollment Application button at the very bottom of the page.
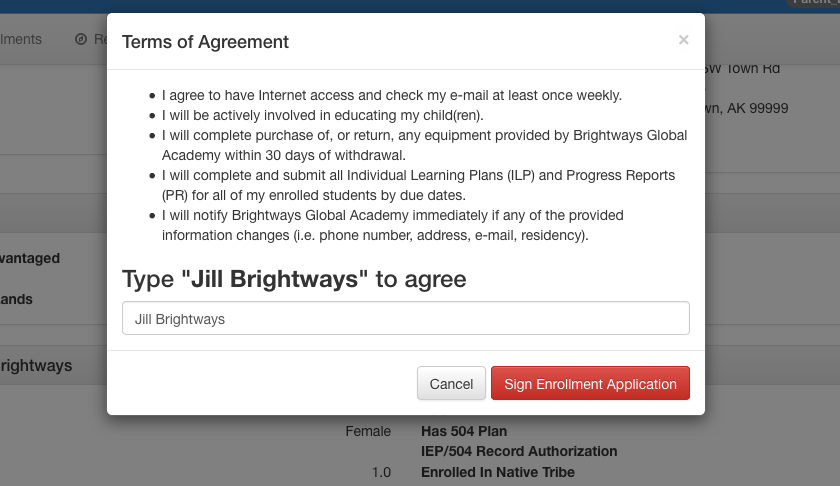
A popup window will display the Terms of Agreement along with a box to enter your name. Type into the field your name as it displays on the screen. Then click the red Sign Enrollment Application button to complete the form and submit it.
After signing, you’ll see a message at the top of the screen that verifies you signed it and also a message at the bottom of the page that also includes the date.
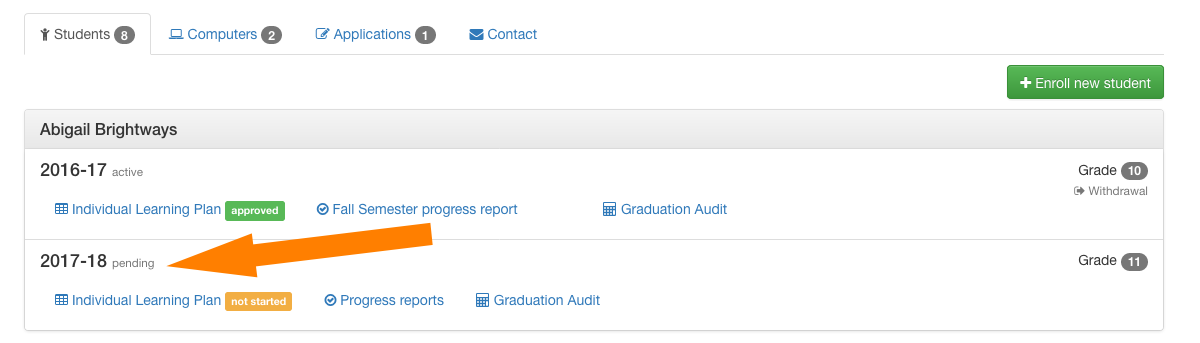
When you return to your Family Dashboard, you will now see the pending enrollments for that school year for each student.
Access/View Your Signed Enrollment Application
After completing your Enrollment Application(s), you can always access them from your Family Dashboard - just click the Applications tab.
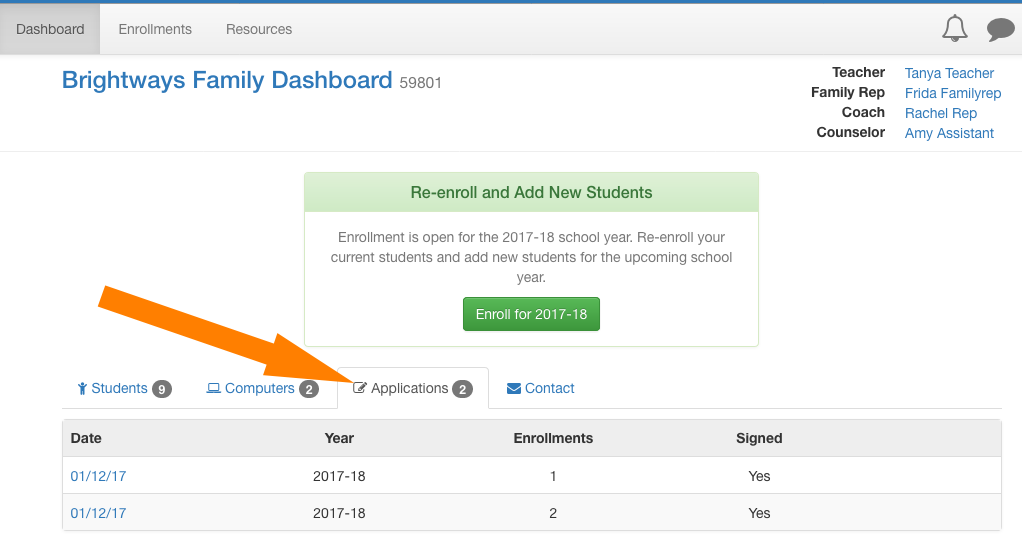
Click on the School Year to view the completed Application. From there, you can click the PDF button if you would like to download or print a hard copy of it.
